Padel technique · 9 min
Improve your padel volley: compact technique, placement and drills
There is no time for a large backswing at the net. A stable volley comes from an early ready position, split step, small shoulder turn and contact in front. Placement and low rebound beat raw pace.
PadelLens.AI editorial team
Published 20 July 2026
Training guidance for recreational players. Not a substitute for individual coaching.
The essentials in 20 seconds
- • Racket in front; split as the opponent contacts
- • Turn the shoulders only, with no large loop
- • Meet the ball ahead of the body with a stable face
- • Build depth and direction before pace or angle
Net play
What should a good padel volley achieve?
The volley holds or strengthens net position. Often it is a precise builder rather than a winner: deep to corners, controlled through the middle or at a moving opponent.
Glass does not reward every hard, deep ball. A fast high volley can rebound comfortably. Contact quality, low flight and moving with your partner matter more.
| Volley | Best for | Risk | Technical focus |
|---|---|---|---|
| Forehand volley | hitting-side balls | medium | small turn, contact in front |
| Backhand volley | middle and non-hitting side | medium | free hand supports preparation |
| Block volley | high incoming pace | low | quiet face, absorb pace |
Technique
The padel volley in five steps
- 1
Ready in front
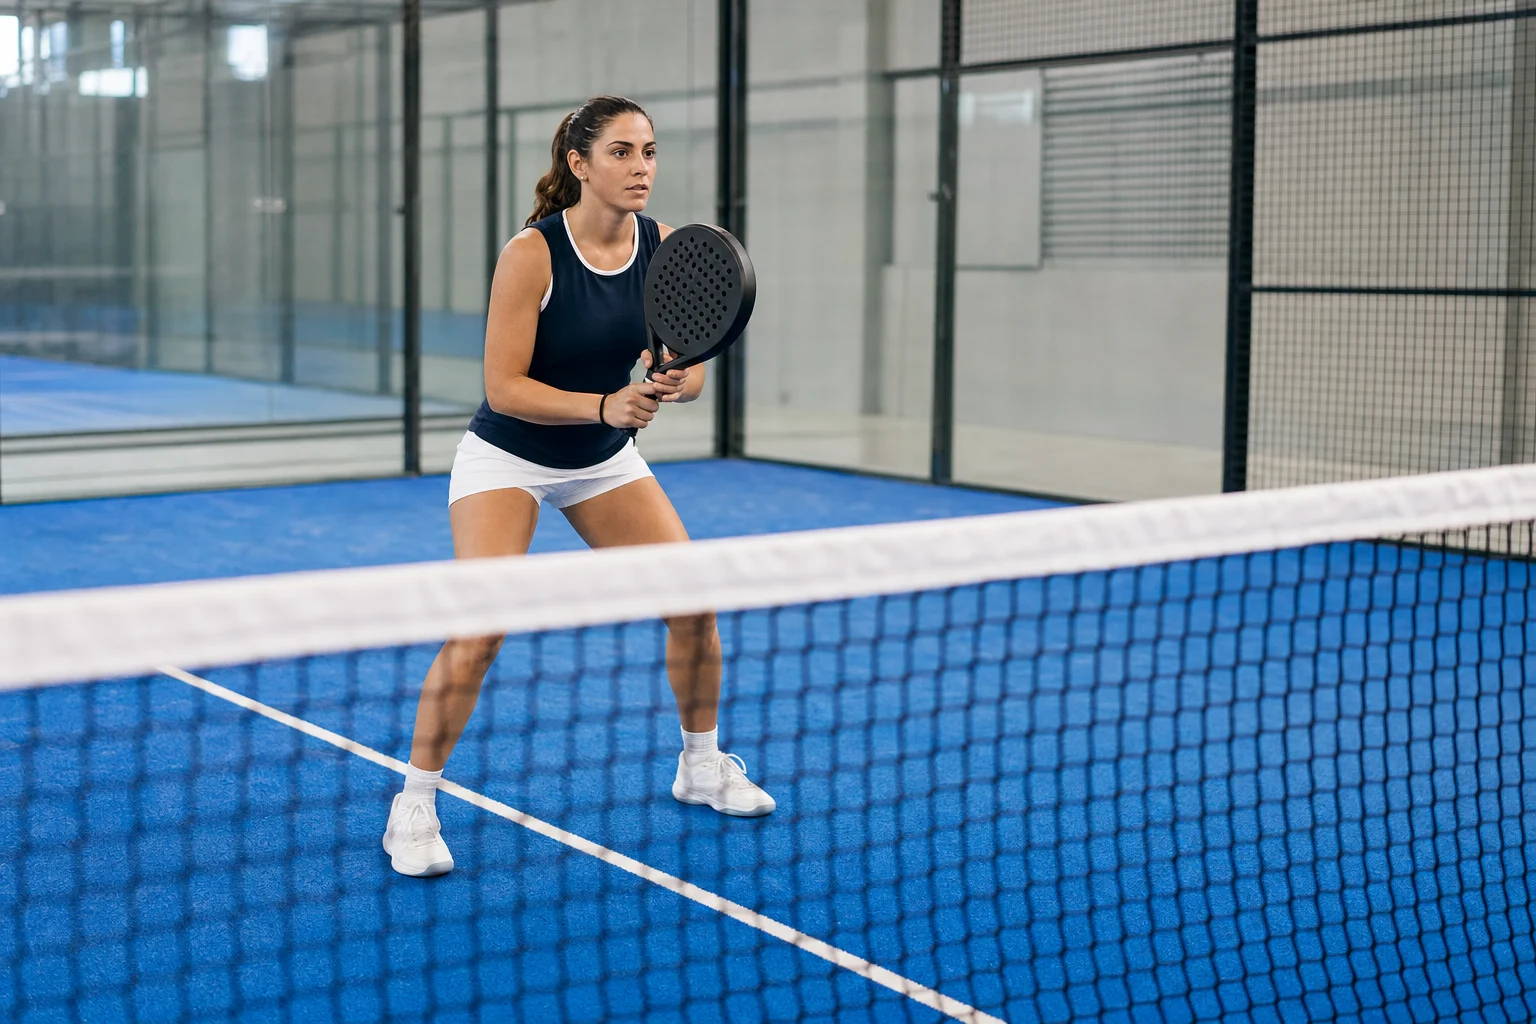
Hold the racket centrally around chest height. Both hands support the neutral position.
- 2
Split as the opponent hits
Land lightly on the forefeet as the opponent hits so you can react either way.
- 3
Turn compactly
Move shoulders and racket as a unit. On the backhand, the free hand supports the throat before releasing into the short forward path.
- 4
Contact in front
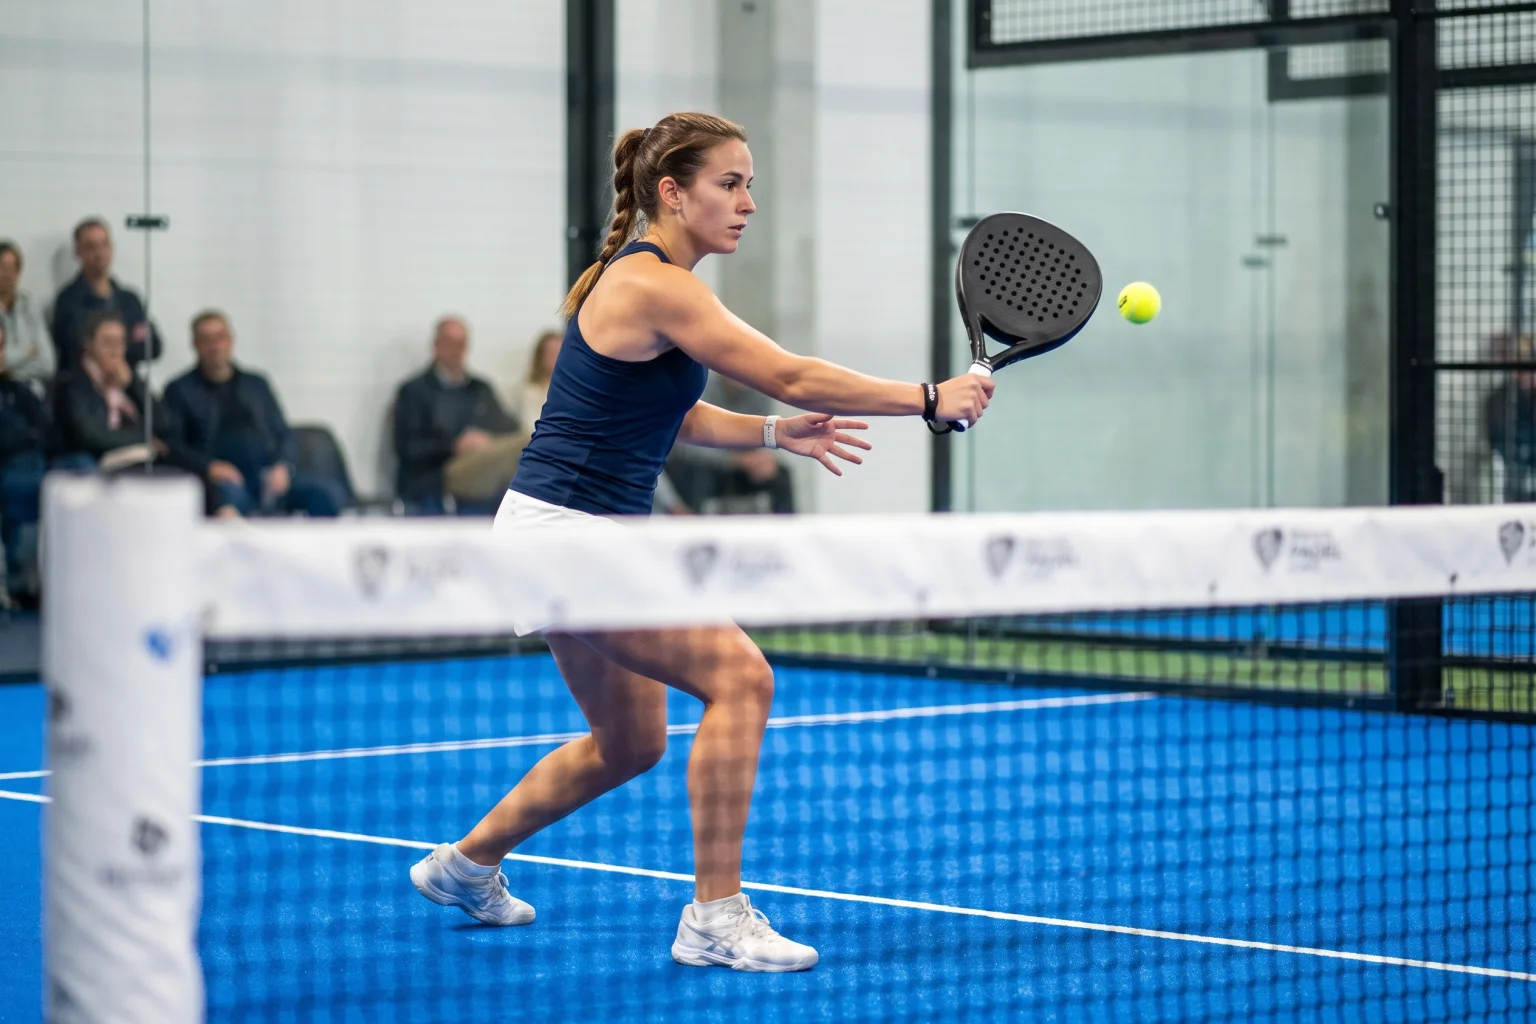
Use a quiet wrist and stable face ahead of the body line: right and in front on the forehand, left and in front on the backhand.
- 5
Finish short and reset
Stop after a short path to target and return the racket to the middle immediately.
Movement sequence
Split, compact contact, reset
- 01
Split and read
Racket central, feet active, identify the side early.
- 02
Short through contact
Shoulder turn and small transfer rather than an arm swing.
- 03
Find the middle
Racket returns in front and pair spacing stays intact.
Contact point
IN FRONT
Early enough, without reaching
For a right-hander, forehand contact sits to the right and ahead of the body line. The arm is not locked; elbow and shoulder retain controlled space.
- Stable, slightly open racket face
- Quiet head and eyes through contact
- Weight transfers forwards through the shot
Self-diagnosis
Five common volley mistakes
You take a groundstroke backswing
Short reaction time makes contact late.
Fix: Start in front and turn compactly.
You wait on the heels
Without a split step you react late.
Fix: Time a small landing to opponent contact.
Contact is beside you
The face changes at the last moment.
Fix: Move the feet and create contact ahead.
You hit every volley hard
Fast high balls rebound comfortably.
Fix: Build low placement first; accelerate clear attacks.
You stay open afterwards
The next ball finds the gap or body.
Fix: Short finish, racket middle and move with your partner.
Training
Three drills for stable volleys
Split on contact
A partner feeds alternately; score only whether your split matches their contact.
Two-metre corridor
Play forehand and backhand at 60 percent into a broad deep zone.
Block or press
Block fast balls and place slower ones. Score the choice before the result.
Video analysis
How to film your volley
Film slightly side-on around net height so readiness, split, contact and racket path remain visible. A hand close-up hides footwork and spacing.
Position
Side-on near the service line with player and net in view.
Height
Between hip and chest for feet, contact and face.
Frame
Full body, three metres ahead and partner side; do not pan.
FAQ
Common questions about the padel volley
How large is the backswing?
Very small. Start in front; a shoulder turn and short path are usually enough.
Must I step on every volley?
No. A suitable step helps, but early contact and balance matter more than a fixed pattern.
Which grip works?
A continental base supports quick forehand-backhand changes and a stable face.
Where should I aim?
Deep corners, middle and body often offer more margin than a sharp angle.
Why do my volleys rebound high?
Flight or contact may be high, the face too open or pace poorly chosen. Fix contact and placement first.
Sources and technical note
PadelMBA and LTA support the technique and training logic; the FIP syllabus adds curriculum context. Footwork adapts to pace, body and position.